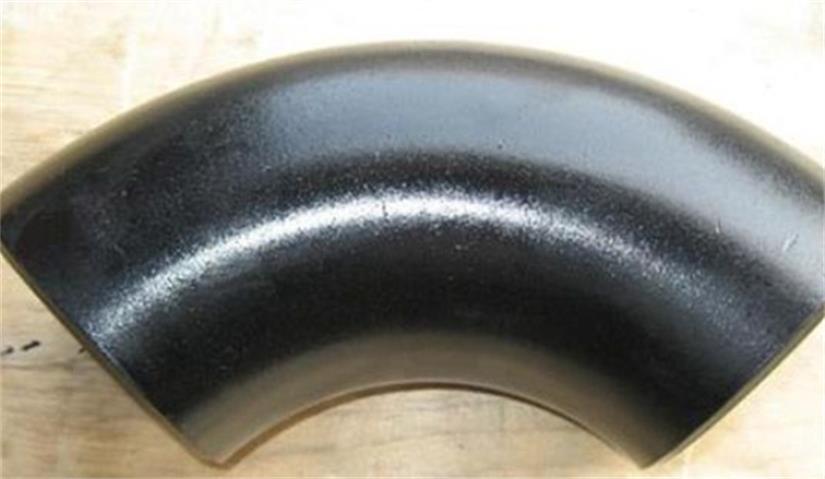
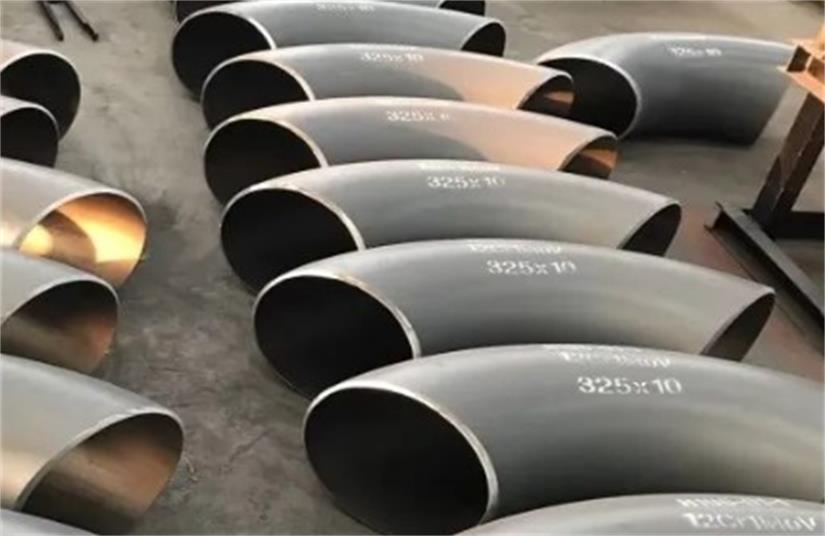
Carbon steel elbow factory test method
All metals react with oxygen in the atmosphere, forming an oxide film on the surface. Unfortunately, the iron oxide formed on ordinary carbon steel inherits and oxidizes, allowing the corrosion to develop and eventually produce holes.
The coating of carbon steel can be protected by painting or electroplating of antioxidant metal, but, as you can see, this protection is only a thin film, which carbon steel elbow factory testing has
Carbon steel elbow factory factory elbow inspection
Most surveys are carried out by the naked eye, sometimes with a magnifying glass of 5-20 times. Through the appearance inspection, the surface defects of the welded elbow weld can be found, such as edge bites, welding bumps, surface cracks, exhaust ports, slag inclusion and welding penetration. The dimensions of the weld can also be measured using a weld detector or template expansion.
Inspection of slag inclusion, exhaust, cracks and other problems hidden in the weld. At present, the most widely used is the use of X-ray inspection, ultrasonic inspection and magnetic inspection.

X-ray inspection is to take pictures of the weld by X-ray, and according to the negative image, there are no internal defects, how many defects and types of defects.
And then according to the commodity technical requirements to identify whether the weld will meet the standard. Ultrasonic inspection works, for example. Ultrasonic beam from the probe, into the metal, when the ultrasonic beam into the metal and air interface, he refracted and passed through the weld.
If there is a flaw in the weld, the ultrasonic beam is illuminated and subjected to the probe, at which time the fluorescent screen also shows a reflected wave. The size and direction of the defect can be judged by comparing and resolving the reflected wave with the normal wave.
Ultrasonic flaw detection is much simpler than X-ray photography, so it has been widely used. However, ultrasonic inspection is usually only distinguished by operating experience, and can not leave a basis for inspection. For internal defects that are not deep from the surface of the weld and very small cracks on the surface, magnetic detection can also be used.
For pressurized vessels requiring tightness, water pressure test and air pressure test must be carried out to check the tightness and pressure of the weld.

The method is to load 1.25-1.5 times the working pressure of water or gas equivalent to the working pressure into the container, stay for a certain time, and then investigate the pressure reduction in the container, and investigate whether there is leakage in the external appearance, according to this can identify whether the weld will meet the standard.
Non-destructive testing can find the inherent defects of the weld, but it can not explain the mechanical properties of the metal in the heat-affected zone of the weld, so sometimes the welding joint needs to be tested for tension, impact force, bending and so on. These tests are done by test plates.
The test plate is best welded together with the longitudinal seam of the cylinder to ensure that the construction conditions are together. Then the test plate is tested for mechanical properties. In practice, this piece is usually only tested for welded joints of new steel grades.


